How the Paintings Were Made
Adapted from writing by Aya. Used with permission.


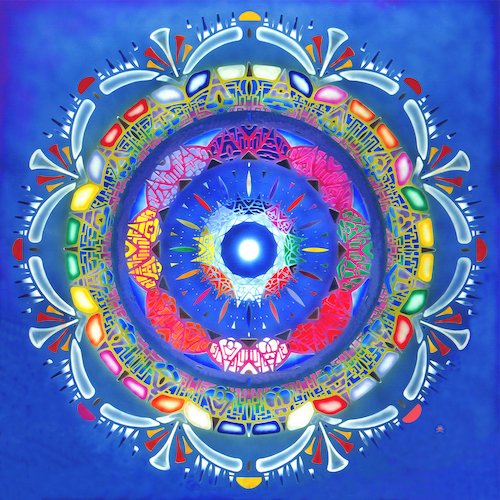
The feeling of being inspired with a new mandala design.
The original design is penciled on a grid paper (10 to the inch), size 6’ x 6’, using large and small compass, rulers and simple drafting tools.
Once the drawing is completed, it is glued onto a stencil paper for back support and then protected by an adhesive soft plastic. The result is a 6’ x 6’ stencil firm enough to be handled and yet thin enough to be cut with an x-acto knife.
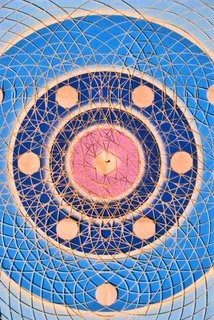
Cutting the stencil with precision is a job by itself, sometimes taking up to a week depending on the complexity of the StarWheel and whether one or multiple sub-stencils are used. When the stencil is cut, it looks like an intricate lace-work.
When the cutting is completed, it is time to build and prepare the canvas. All the StarWheel paintings were done on canvas frames built by hand (mostly with a handsaw) and then stretched with primed canvas.
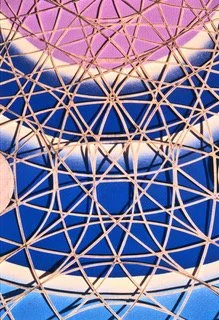
A basic background geometric structure (harmonious to the upcoming mandala design) is drawn onto the whited-out canvas: each element of this background is airbrushed with the appropriate plain or gradient color, looking for complementary or contrasted colors.
The stencil is applied to the canvas, making sure the elements match precisely where they belong.
A layer of gesso white is airbrushed through the stencil's windows onto the open canvas spaces.
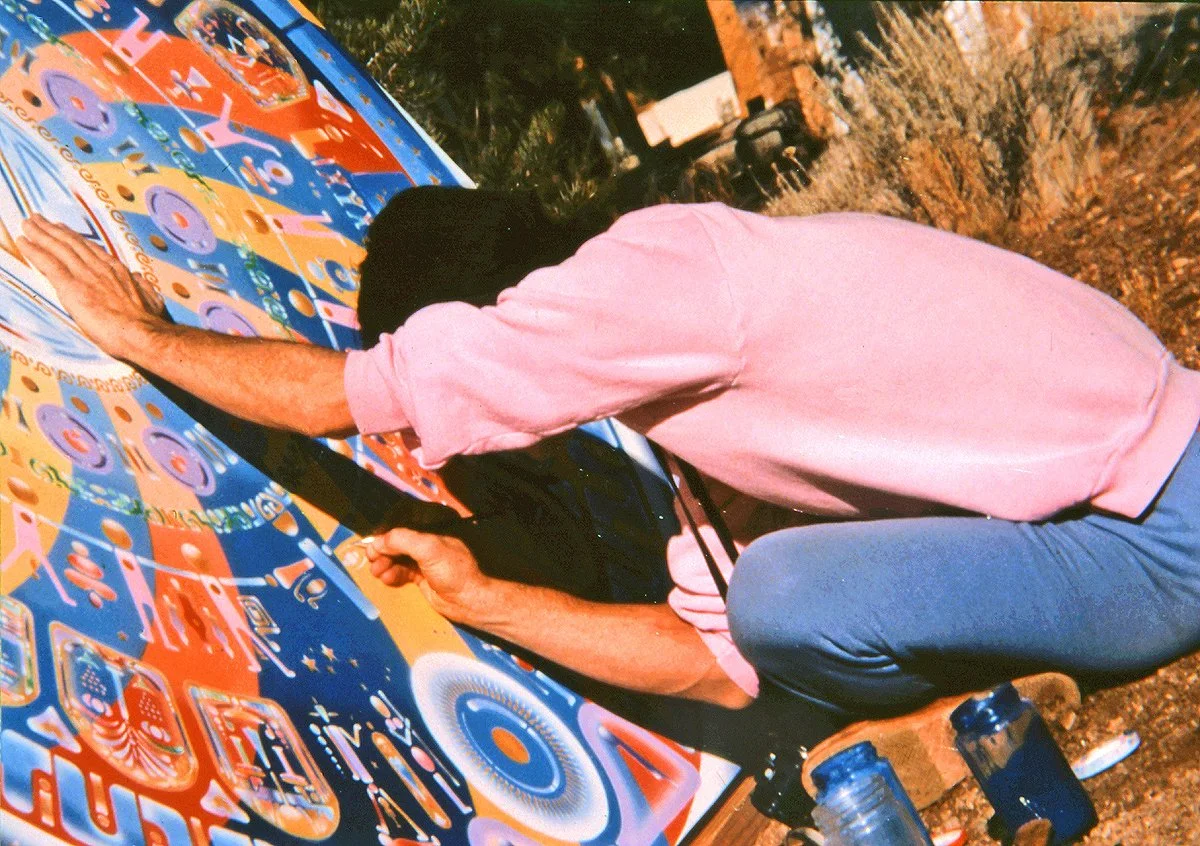
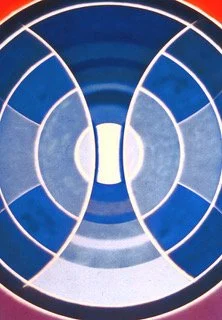
Now comes the time to actually airbrush the final color of each element of the mandala design, with appropriate white highlights. The white represents the brightness of creative light radiating from every shape & form. This is a long process, with potential color splashes and therefore much retouching.
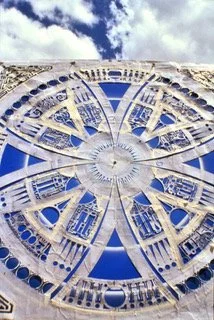
At some auspicious moment, the feeling comes that it is "done": the mandala is ready to be "unveiled" — the stencil can be removed to get, for the first time, a complete look at the overall mandala.
Upon close examination, a lot of retouching is usually needed, using fine to very fine brushes and/or redoing some airbrushing here and there.
The technical steps of creating a StarWheel mandala are the following:
People ask: “Which computer program do you use?” I have to laugh and show them my fingers, elbows and arms and point to my eyes and forehead (the “eye of beauty”) and say: “These are the tools, the technology…”